Anyway, LOOK AT MY AMAZING JACKET:

I am so pleased with this. The fact that I made this myself makes me feel like some sort of wizard. Even people who know I make everything don't realise I made this.

The Sewaholic Minoru is one of those patterns that I've liked for a long time but could never quite see how it would fit into my wardrobe. (I don't think the orange sample garment helps; orange and slightly puffy just reminds me of lifeboats, and lifeboats aren't particularly my aesthetic.) I hadn't thought about for it ages until I saw this Liberty print laminated cotton on Dragonfly Fabrics, and then I knew immediately that the two had to go together.
From the picture on the website, I was expecting the fabric to be the black and white colourway, which was the only one I knew of at the time because my boyfriend has a mug in that print. Since I bought this fabric we've also got duvet covers in the yellow colourway, because we are terrible influences on each other and really ought to be stopped. I was surprised that it turned out to be this blue, but I'm actually glad; this fits in with my other clothes much better.
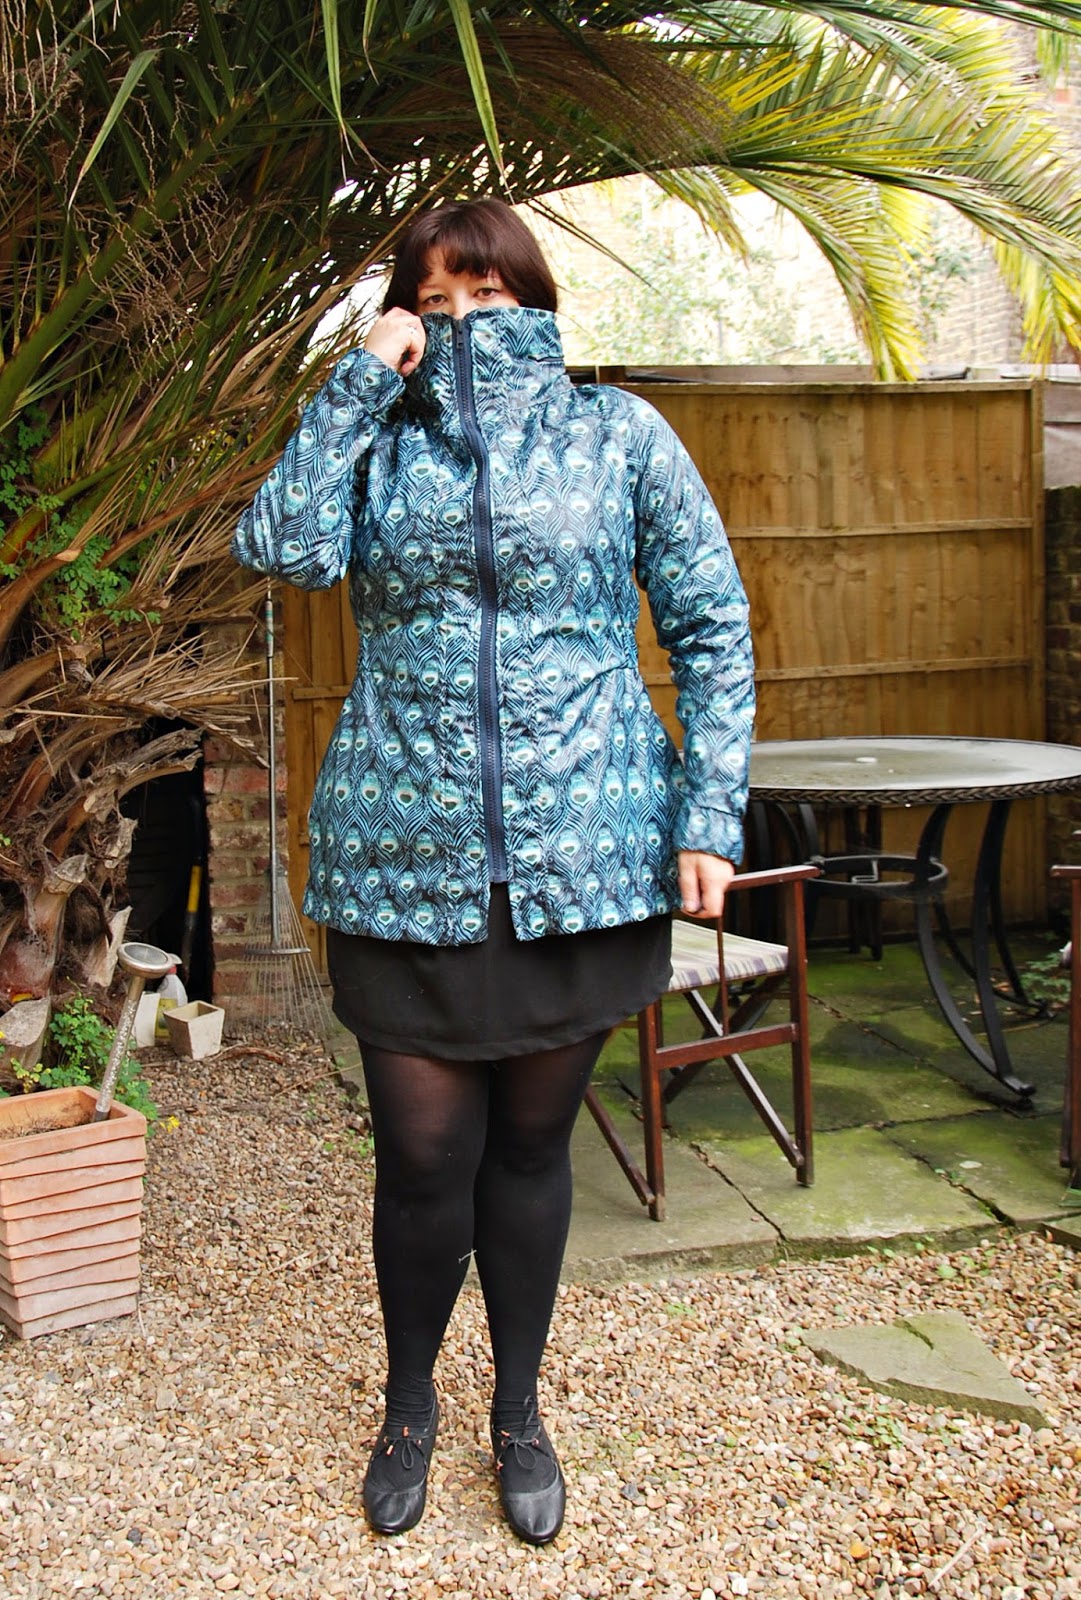
(This is a stupid picture. Just go with it.)
The thing I love most about Sewaholic patterns is how thoughtful they are (excepting the Cordova, which I didn't really care for). They're designed by someone with serious patternmaking chops who really thought about details that would be useful and practical as well as ones that would look attractive, and the end product is designed to look completely professional. I miss Tasia, though I completely get why she might have quit and I'm glad she's sewing again.

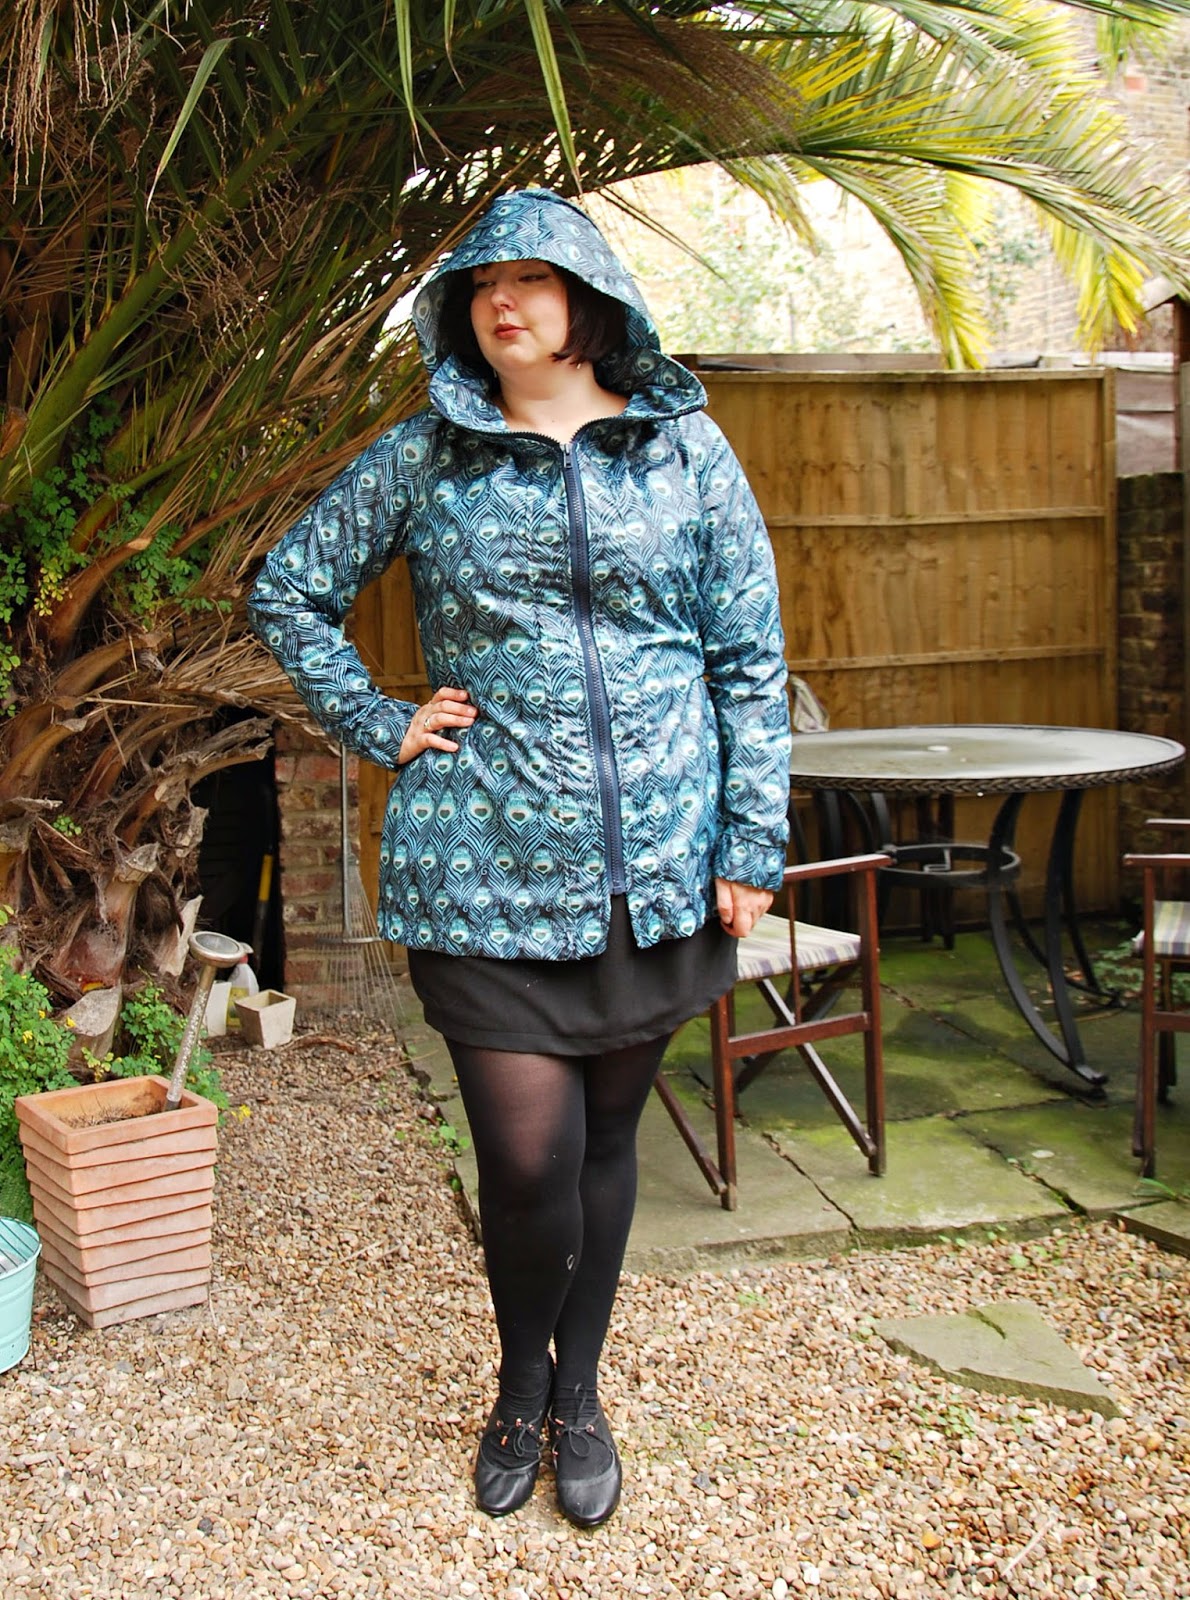
The jacket is just below hip length, with raglan sleeves, an elasticated waist and cuffs, interior patch pockets, a wide collar, and a hood that can be rolled up and zipped away. All raw edges are enclosed apart from the centre seam of the hood, and the sewalong tells you how to line the hood if you want that one hidden away too. It doesn't come with outer pockets but I added some anyway, because any outerwear intended for adverse weather is functionally useless to me if I can't shove a pair of gloves in the pockets and then forget they're there. I did consider adding welt pockets to the front pieces, but I couldn't find a way to position them that didn't look weird with the print, so I just freehanded a fairly wide and deep pocket piece and stuck it in the side seams about 1.5" below the waist elastic.


I've never worked with laminated cotton before, and I found it to be a massive pain in the arse. It was all going fine until it came to sewing the front plackets, and The Gnome just was not having it. The fabric wouldn't feed through normally, and I had to cycle through all kinds of stunts, including literally operating the machine by hand, to get through the seams and the topstitching. As a result my topstitching is definitely not the prettiest, but for the most part it's not wonky either, so unless you get super close it's not really noticeable.

I decided to follow the sewalong on the Sewaholic site, which was a good decision. I didn't necessarily need all of the extra detail, but there were a fair few helpful bits which aren't included with the pattern instructions, such as how to get neat corners on the internal pockets and how to attach the cuffs to the lining by machine. The latter took me a while to get my head round, but I'm so pleased that it worked. I hate slipstitching cuffs (as per the patterns instructions) because I nearly always manage to catch a stitch on something and pull it out. No, I don't know how either, but it makes me feel so much better to know that the stitching is neatly tucked away on the inside.
And now, a few flat shots:

The hood comes out of a zipped pocket along the collar...


...and rolls away like this. This makes the collar slightly padded, but not in any way lumpy and weird unless you just shove it in willy-nilly like I did the first time. Lesson: don't do that. Roll it up. It's much easier.

The interior patch pockets are meant to close with Velcro, but sewing Velcro onto this stupid laminated fabric was not a thing that was going to happen, so I don't have closures on mine. I don't think I'll need them, but I can always go back and hand-sew a popper in if I change my mind.
You can also see here that the waist elastic runs from inner pocket to inner pocket, creating shaping at the back without disturbing the pattern in the front.

The pattern also comes with a hanging loop, which is exactly the kind of practical detail I get excited about. (I know it's an easy enough thing to add in myself, but I always forget if it's not written into the instructions.)

Cuffs! With no slipstitching!
I am going to get a hell of a lot of wear out of this. Depending on how cold winter is this year, it might well work for three out of four seasons. Historically most of my outerwear has been aggressively neutral (my purple coat was actually quite a departure for me, as all my RTW jackets and coats were/are black, grey and navy), but this is making me think things like "maybe I should have a BRIGHT YELLOW COAT" and "maybe I should dress like a literal peacock feather and have a massive hat with fringe all over it" which is why I'm not allowed to think things.
But this? This is great. One of my top five projects of all time, easily.
Extremely justified smugface!
AWESOME. That is all.
ReplyDeleteFantastic! And your sewing skills are amazing!
ReplyDeleteOh, WOW! So impressed!
ReplyDeleteAMAZING!!
ReplyDeleteOMG I'm so impressed! Love your Minarou. I'm also SO behind reading your blog. I've peeked in my reader but didn't mark as read because I wanted to go back and re-read them all.
ReplyDelete