Monday 25 September 2017

autumn sewing experiment: Papercut Patterns Kobe dress

Dear readers: negative review incoming. 

I admit I approached making the Kobe dress from a place of scepticism. The sample photo (beautiful romantic layering) and the line drawing (sack thing with a back detail that in no way excused the sack part) didn't seem to have much to do with each other at all. Having bought the pattern basically immediately based off the picture (shame on me, etc), I decided to see if some approximation of that photo could be achieved by using a sheer lace fabric. I'd never worked with lace before, so it seemed like a good opportunity to broaden my skill set a bit. I completely recognise that what you're about to see is not my best work, and I wouldn't normally post a hastily-sewn toile, but I do think this ought to be talked about. 


If I'd liked this enough to make a proper version, I would have cut the hem on the selvedge and made a slip to go underneath. For the toile I just left the edges unfinished and put it on over a cami and skirt. I made size L in the hips and M everywhere else, because I usually find that Papercut comes up large on me (which isn't a problem I've read about anyone else having, but I always have to take things in if I cut them according to the size chart). 

The sleeves and hem on my version are shorter than the pattern dictates. The hem is meant to hit at mid-calf so I made the pattern about eight inches shorter (a shapeless mid-calf-length dress? Get out of my office) and the sleeves were a little way above the elbow, which looked horrendous on me so I hacked about three inches off there. I also found that the neckline was wide enough to pull over my head, so I sewed the pleats together at the back rather than have to faff with a button.

So far, so uninspiring. What about the back? This is what we're going for:


And this is what we got:


(That's the zip of my skirt, not a slug trail.)

You can see here that in fact, when made in a sheer fabric, the back does resemble the beauty of the photo somewhat. It's not exactly the same, but the layers of intricate loveliness do begin to show through if you make the dress in a sheer. But here's the thing: that layered back detail is the selling point of the pattern. They KNOW that back detail is the selling point of the pattern. That's why it's the envelope picture. It is a goddamn beautiful photo that is going to make people want that dress. So why not tell people that the dress is intended to be made up in a sheer fabric? Is it cynical to say "because then they'd have to include pattern pieces for a lining or slip or something"? I don't know. I just feel like this dress is pointless without those sheer layers, and the fact that the sample garment shows the dress worn on top of another fucking dress without any real indication that that's what's happening smells a tiny bit like false advertising to me. Not to the extent that I'm going to demand my money back, but definitely enough for a side-eye and a blog post. 

I also really object to the pattern picture including a belt (and thus waist cinching) when the pattern itself includes no such thing. It's not like that would even be hard to include. I made belt loops out of two strips of selvedge and a belt out of another strip. It's some rectangles. It's easy. 

I'd also like to show you something else:


I put the dress on Patrick for our collective amusement and took a photo of the back on my phone so I could get a better look at it. This is how it naturally falls with no waist belt and no fabric underneath to disguise anything, and I don't think it looks very good. If you look back at the sample photo, the waist belt is pulling the pleats inwards, and that's part of what creates the shape. On my version, the waist belt is pulling the pleats outwards, and that's contributing to a different, but still (I think) pleasing shape. With nothing there, it just... falls straight down and hangs there, and it doesn't look anywhere near as nice as either of the belted versions. Which, again, says to me that this dress needs a goddamn belt and that should have been included, and also that it requires an incredibly specific set of circumstances to look the way it looks in the sample photo. And many of these circumstances aren't stated by the pattern at all. I'm not impressed.

Will I wear this dress? No. That back detail really is lovely in a sheer fabric, and I think mine came out really nicely (scratty sewing aside), but I don't like the rest of the dress at all. It doesn't suit me and while the waist tie helps, it's not a miracle worker. Maybe one day I'll have a go at transferring the back detail onto a better dress, but it's not a priority. Also the dress looks about eight hundred times better on Patrick, who belts it at the hips and looks like an exceptionally beardy flapper girl in it. So now it's his dress, and I'll borrow his hat and we'll do the Charleston in the kitchen. 

I feel I should say that I really like Papercut. I've made three of their other patterns and was impressed with all of them. I think their drafting is good and they've more than once produced that thing I was looking for and couldn't find anywhere else. But I don't like this. It's not a good dress for me and I am seriously side-eyeing that sample photo. I think to get from this pattern to that sample photo you have to be more talented than a medium-rated home sewing pattern should require. I've searched the Instagram hashtags and there are people who are happy with their dresses, but nobody has produced anything even remotely like the picture. This pattern should have either been way more thoughtful and complicated, or used a more representative photo. 


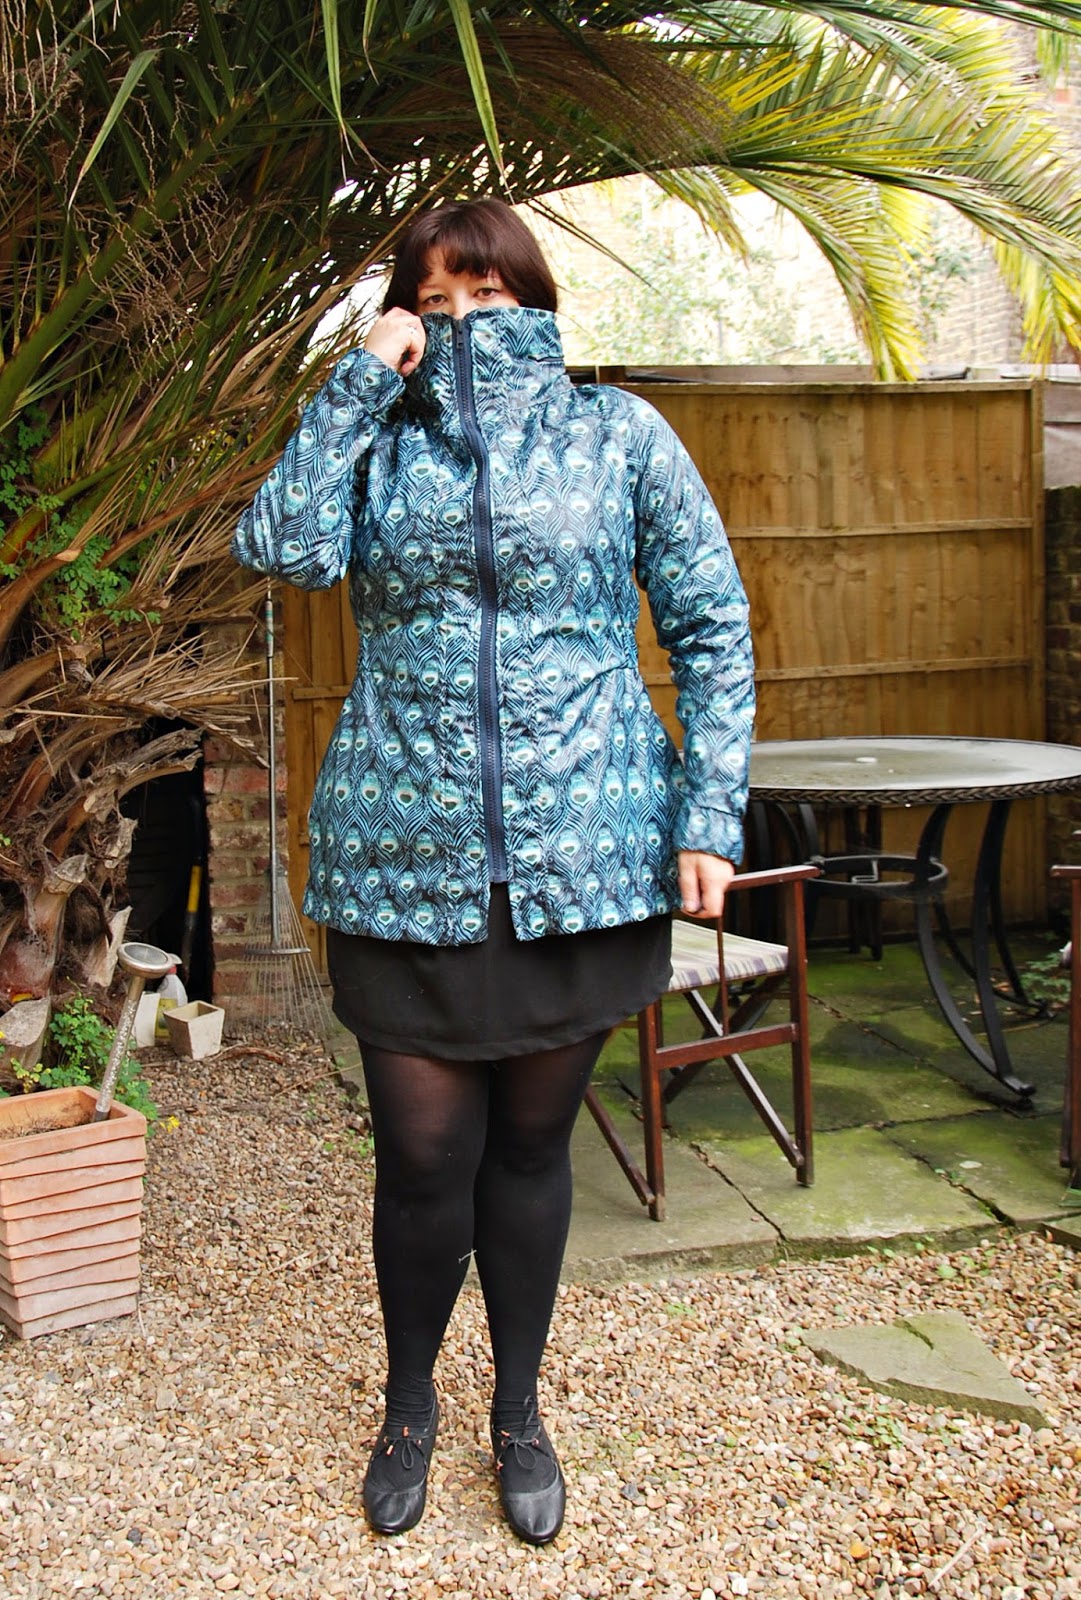
Feel the side-eye of Super Puffy Cold-Ridden Jen. Feel it. 

Monday 18 September 2017

autumn sewing: my triumphant peacock Sewaholic Minoru

Fair warning going into this post: this jacket is one of my favourite things I've ever made, so this is going to be a pretty gushy review. Second warning: because it is now autumn, I was suffering a horrendous cold when I took these pictures, so my eyes have puffed away into nothingness. They do that.

Anyway, LOOK AT MY AMAZING JACKET:


I am so pleased with this. The fact that I made this myself makes me feel like some sort of wizard. Even people who know I make everything don't realise I made this. 


The Sewaholic Minoru is one of those patterns that I've liked for a long time but could never quite see how it would fit into my wardrobe. (I don't think the orange sample garment helps; orange and slightly puffy just reminds me of lifeboats, and lifeboats aren't particularly my aesthetic.) I hadn't thought about for it ages until I saw this Liberty print laminated cotton on Dragonfly Fabrics, and then I knew immediately that the two had to go together. 

From the picture on the website, I was expecting the fabric to be the black and white colourway, which was the only one I knew of at the time because my boyfriend has a mug in that print. Since I bought this fabric we've also got duvet covers in the yellow colourway, because we are terrible influences on each other and really ought to be stopped. I was surprised that it turned out to be this blue, but I'm actually glad; this fits in with my other clothes much better. 


(This is a stupid picture. Just go with it.)

The thing I love most about Sewaholic patterns is how thoughtful they are (excepting the Cordova, which I didn't really care for). They're designed by someone with serious patternmaking chops who really thought about details that would be useful and practical as well as ones that would look attractive, and the end product is designed to look completely professional. I miss Tasia, though I completely get why she might have quit and I'm glad she's sewing again. 


 The jacket is just below hip length, with raglan sleeves, an elasticated waist and cuffs, interior patch pockets, a wide collar, and a hood that can be rolled up and zipped away. All raw edges are enclosed apart from the centre seam of the hood, and the sewalong tells you how to line the hood if you want that one hidden away too. It doesn't come with outer pockets but I added some anyway, because any outerwear intended for adverse weather is functionally useless to me if I can't shove a pair of gloves in the pockets and then forget they're there. I did consider adding welt pockets to the front pieces, but I couldn't find a way to position them that didn't look weird with the print, so I just freehanded a fairly wide and deep pocket piece and stuck it in the side seams about 1.5" below the waist elastic.


I've never worked with laminated cotton before, and I found it to be a massive pain in the arse. It was all going fine until it came to sewing the front plackets, and The Gnome just was not having it. The fabric wouldn't feed through normally, and I had to cycle through all kinds of stunts, including literally operating the machine by hand, to get through the seams and the topstitching. As a result my topstitching is definitely not the prettiest, but for the most part it's not wonky either, so unless you get super close it's not really noticeable. 


I decided to follow the sewalong on the Sewaholic site, which was a good decision. I didn't necessarily need all of the extra detail, but there were a fair few helpful bits which aren't included with the pattern instructions, such as how to get neat corners on the internal pockets and how to attach the cuffs to the lining by machine. The latter took me a while to get my head round, but I'm so pleased that it worked. I hate slipstitching cuffs (as per the patterns instructions) because I nearly always manage to catch a stitch on something and pull it out. No, I don't know how either, but it makes me feel so much better to know that the stitching is neatly tucked away on the inside. 

And now, a few flat shots:


The hood comes out of a zipped pocket along the collar...


...and rolls away like this. This makes the collar slightly padded, but not in any way lumpy and weird unless you just shove it in willy-nilly like I did the first time. Lesson: don't do that. Roll it up. It's much easier. 


The interior patch pockets are meant to close with Velcro, but sewing Velcro onto this stupid laminated fabric was not a thing that was going to happen, so I don't have closures on mine. I don't think I'll need them, but I can always go back and hand-sew a popper in if I change my mind. 

You can also see here that the waist elastic runs from inner pocket to inner pocket, creating shaping at the back without disturbing the pattern in the front. 


The pattern also comes with a hanging loop, which is exactly the kind of practical detail I get excited about. (I know it's an easy enough thing to add in myself, but I always forget if it's not written into the instructions.)


Cuffs! With no slipstitching!

I am going to get a hell of a lot of wear out of this. Depending on how cold winter is this year, it might well work for three out of four seasons. Historically most of my outerwear has been aggressively neutral (my purple coat was actually quite a departure for me, as all my RTW jackets and coats were/are black, grey and navy), but this is making me think things like "maybe I should have a BRIGHT YELLOW COAT" and "maybe I should dress like a literal peacock feather and have a massive hat with fringe all over it" which is why I'm not allowed to think things. 

But this? This is great. One of my top five projects of all time, easily. 


Extremely justified smugface!

Monday 11 September 2017

autumn sewing: Vanessa Pouzet Wanted top

Time to get started with the things I actually planned to make. First up, a basic: the Vanessa Pouzet Wanted top. I had literally never heard of Vanessa Pouzet until about a month ago, and then I watched a bunch of sewing vlogs one afternoon and three out of the first four I watched were making her patterns. Ah, the little bubbles the sewing community gets into.


I wanted to start here because I am so short on tops. I don't actually wear several of the ones I do have because they don't quite fit properly or don't really go with anything, and I have to keep going to back to old RTW T-shirts that look like afterthoughts. This is the main thing about my wardrobe that I'd like to fix in the coming months, but it's really difficult to find patterns that meet my requirements. 98% of patterns for tops are either super-long with all the design in the lower part, massive, or designed with exceptionally stupid sleeves. I just wanted fitted jersey tops that can be worn at my natural waistline, but it's been a struggle to find anything that isn't just a basic T-shirt. So when I saw this top with a cool neckline, I jumped on it immediately, ignoring the bit where my French is almost non-existent these days. 


This fabric was a panic-buy for Mum's Kielo when I started to worry that time was running out, and I knew even as I was buying it that it wasn't going to work. I didn't really think it would work for me either, but decided to use it to make a wearable toile of this top rather than cutting straight into the sweater knit I'd bought for it. I never would have looked twice at this colour, but much to my surprise I actually think it looks great on me and it goes with almost every colour of skirt that I own. Apple green: who knew? 


I found the top pretty simple to construct without needing to refer to the written instructions at all. The diagrams were clear enough for the neckband, and that's the only bit that differs from making a standard T-shirt. It takes a tiny bit longer but I still had this sewn up within the hour. My main concern had been that the wide square neckline would fall off my fairly narrow shoulders, but as you can see it's perfectly fine. So I went on to make my black sweater version. 

(I took the photo above and the photo below literally two minutes apart, and the sun moved, so despite the fact that I still have the remains of what passes for a tan on me thanks to my holiday, my face is suddenly blinding white like a Goth album cover. I apologise for any damage this does to your eyes.)


This version, annoyingly, does fall off my shoulders a bit because the fabric is so much stretchier. I could do without the hints of bra strap but I don't think it'll stop me wearing it because it is SO comfortable. The fabric's also quite thin but not so prone to riding up, which will make it super versatile for my wardrobe. Normally I can't wear longer tops with my really high-waisted skirts because it creates a load of unnecessary bulk (tucking in does not work on me unless the top is only slightly longer than my natural waist or is so long that I'm literally just wearing a skirt over a dress. Anything else will ride right up and create a very attractive lump below my waistband), and if I cut all my tops super cropped I have nothing suitable to wear with trousers. This I can wear with both, which is great. 


I really like this neckline. The square shape is flattering and takes it out of "boring-ass T-shirt" territory quite effectively. I do think that in the future I'd make the back neckband a little bit shorter as it doesn't lie quite as flat as I'd like. It's so rare that the neckband pieces that come with patterns are the right size that I'm planning to start ignoring them completely and just measuring the pieces out myself. 


If you have a favourite not-just-a-T-shirt fitted top pattern, please do comment and let me know! This one and the Givre from my last post brings me up to a grand total of two, and while I will make more of both, that's going to get a bit stale sooner rather than later, and I'd love to have a bit more variety to fall back on. Functional wardrobes!

Monday 4 September 2017

Givre me one reason to stay here...

(You thought I was done with the convoluted music puns? NOPE.)

Yeah, I know, first post of the autumn and it's something that wasn't on my list at all. But there is a reason for that.

Last month I got an email from Camille at Deer and Doe, asking if I'd be interested in an advance copy of one of their new patterns in exchange for photos and a review. I've never been approached about this kind of thing before and applying to be a "pattern tester" has never interested me, but I really like all four of the Deer and Doe patterns I've previously tried and I respect them as a company, so I said yes. The pattern they sent me is not one I would have bought if I'd seen it for sale, but since it was free I thought it would be a good opportunity to try a Thing That Might Not Work (you know, like I said I was going to do in my 2017 resolutions and then didn't really). And here it is:


This is the Givre, a knee-length jersey bodycon dress, with three-quarter sleeves and a contrast yoke in view A and sleeveless with a scoop neck in view B. I was a bit nervous about this, because I do not wear bodycon dresses. From the front, I like to show my natural body shape and have clothes fit fairly close to my hips. From the side, not so much. I have a fairly sizeable pot belly and I do not like wearing clothes that cling to it. Dresses which mould themselves to the underside of my abdomen make me incredibly self-conscious, and stupid as it sounds I find it hard to concentrate on anything besides that if I notice that it's happening. With that and my general wardrobe preferences in mind, I decided to make view A as a mini, size up in the hips and use a thicker fabric. The pattern calls for light to medium weight jersey with at least 50% stretch, so I bought a sweater knit from Fabrics Galore that was stretchy and not too heavy, but would also be less likely to do upsetting things than a drapey viscose jersey. To make it a mini I cut the pattern at the length line for the smallest size, and this was probably slightly too short. It was perfect until I realised I had to hem it. D'oh.


(This was first thing in the morning and as flat as I get. Give me a slouchy chair and a bowl of pasta and it's the widest point on my entire body. It's not the best.)

I cut a 44 in the shoulders, 46 in the bust and waist, and 52 in the hips. As I said, I do actually like my massive hips, but they do make for some weird-shaped pattern pieces. The dress came together very easily in a couple of hours, and is as well-drafted as Deer and Doe patterns always are. The pattern pieces have a fair amount of shape in them rather than relying on the jersey to do all the fitting work, which is what I've seen in a few other patterns, so the final garment is actually fitted to me rather than just stretched over me.


My absolute favourite thing about it is the neckline and skinny neckband. I've often not been quite happy with the way neckbands look on me (unless I've done something deliberate with it, like my stripy Vogue dress), but I've never really thought about why until I tried this dress on, looked in the mirror, and thought, "Wow, that neckline looks great." I think this looks way more professional than the wider neckbands, and I'm quite possibly going to alter all the neckband pattern pieces I currently have. I also think the proportion of the neckline itself is perfect. 


I think this dress is killer, but it remains to be seen how much I'll wear it. Even going up a hip size it's still a bodycon dress and it still clings. I can't tell you now whether I'll become comfortable enough with that to wear it outside regularly (as a dress, anyway. Because it's bodycon and I shortened it, I can easily wear it as a top under most of my skirts). But I'm not completely ruling it out because I love the way this looks from the front, and it's a great autumn dress. We'll see how much my confidence behaves as the weather gets cooler. If it turns out that I do wear it, I'll definitely be making another. 

Either way, I will definitely be making this up as a top. It fits me perfectly, I love the neckline, and because of the yoke there's a lot of scope for colour-blocking. If subsequent versions go together as well as this one did, this could well become a TNT for me.


Success!